Changing your ITAS Password
This knowledgebase article will explain how to change your ITAS password.
You will initially be provided with a default password as explained in class. It is very highly recommended that you change your password from its default to a password that you decide on. Following are steps to take to change your password.
In order to change your password (in Windows Server's Active Directory), you must do a Remote Desktop connection with "password.itas.ca". Windows 10/Mac OS/Android/iOS, in their respective application stores, have a "Microsoft Remote Desktop" application. It is highly recommended that you install and use this application.
The following section shows how to connect to "password.itas.ca" using the Remote Desktop Application. Start the app via hitting the windows key and start typing "remote desktop" this should highlight the application, using the following (or similar) icon:
![]()
This should start the Remote Desktop (RD) application, with a more or less blank screen under "Saved PCs" (ignore all the ones I have saved). Start by clicking on "Add" in the upper-right corner.
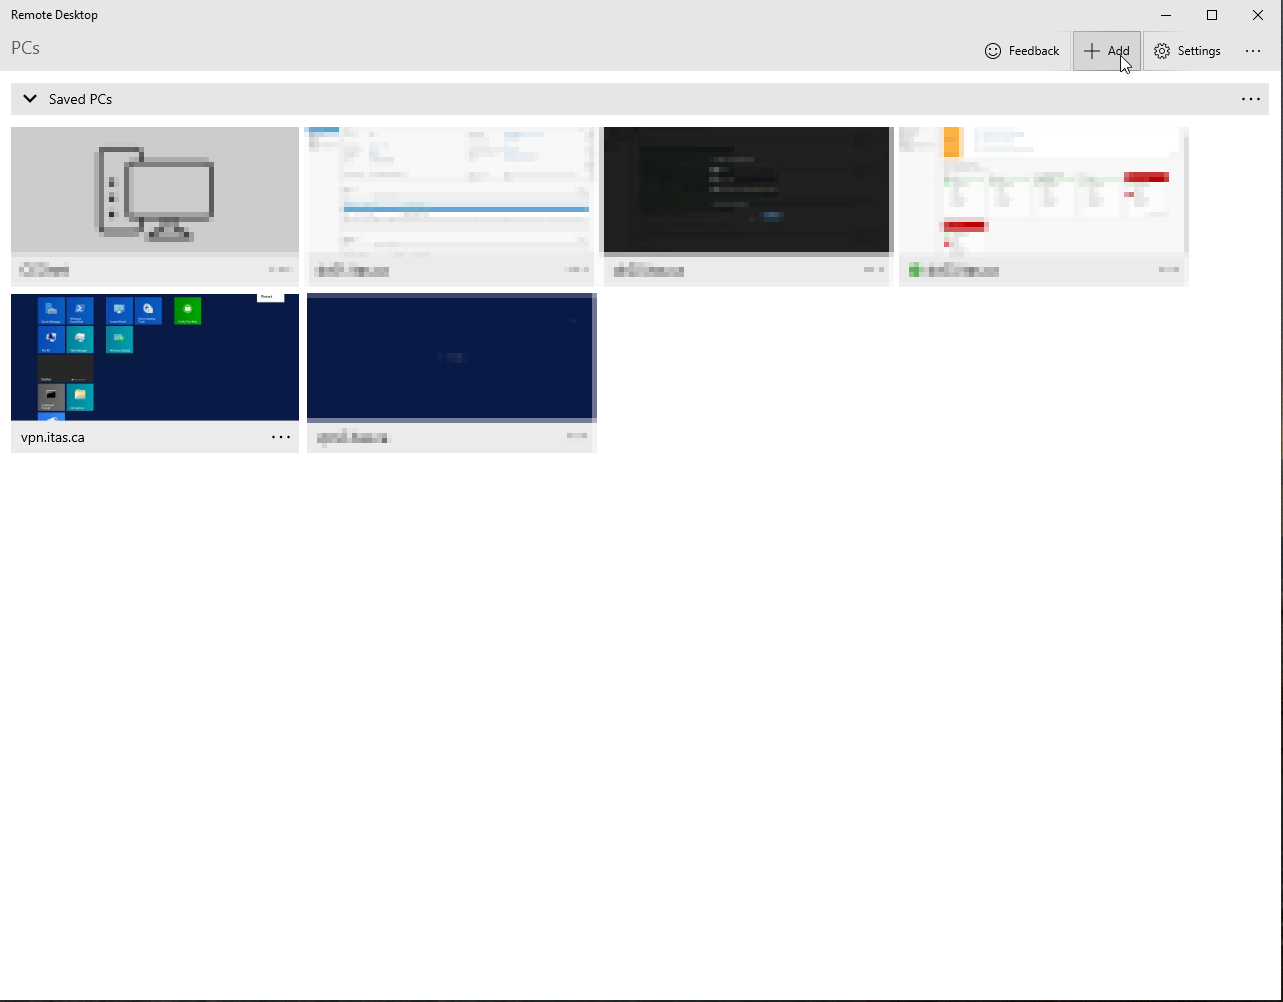
Then, click on "PCs" in the dropdown menu.

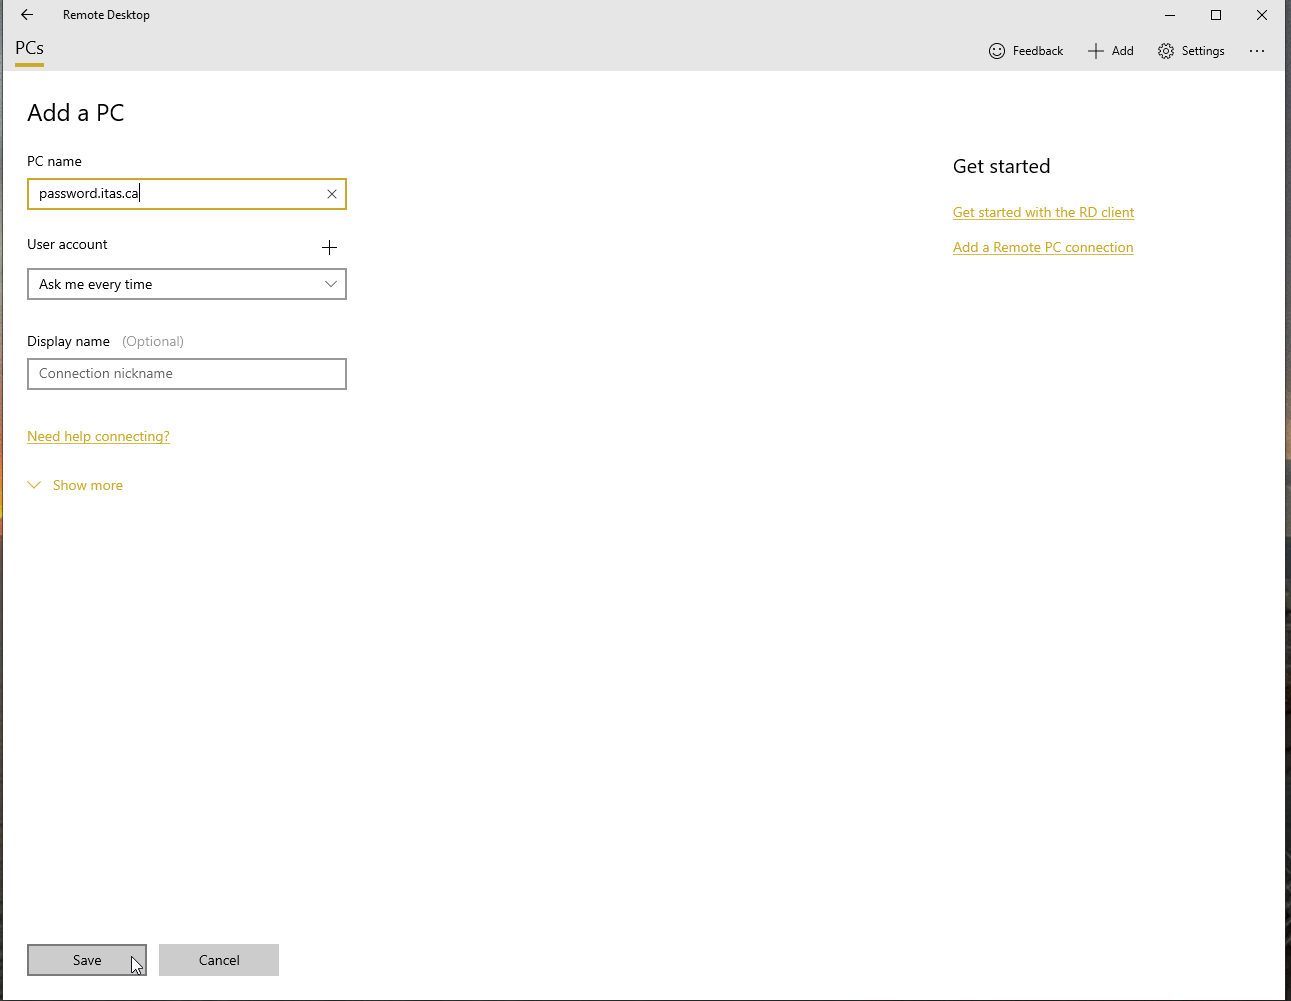
In the following screen, in the "PC name" field, enter "password.itas.ca" and leave the "User account" field at the default "Ask me every time".
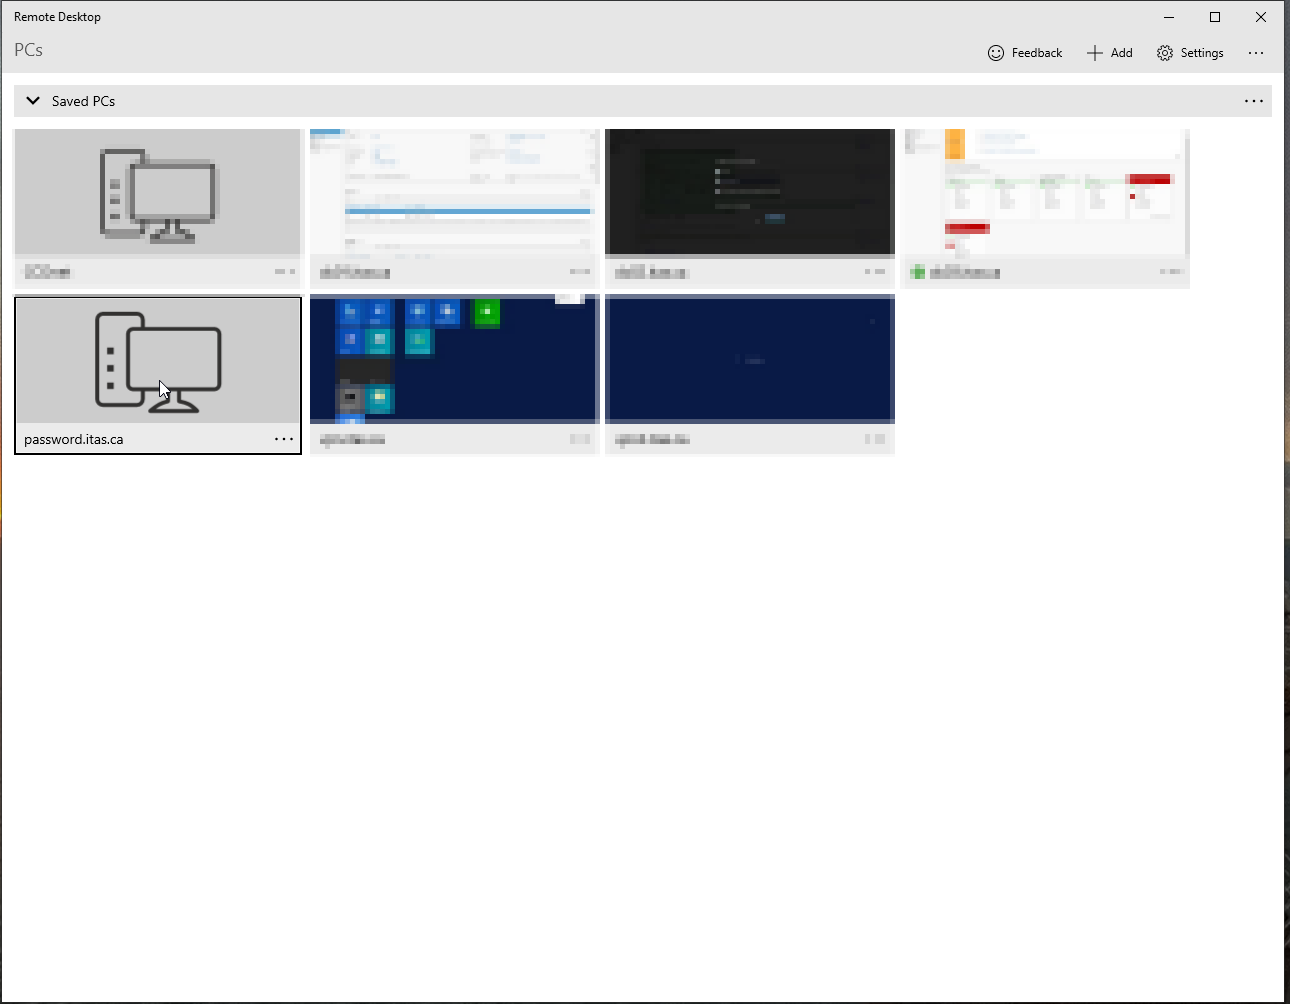
This will bring you back to your "Saved PCs" screen, showing the newly created "password.itas.ca". Click on it to begin the login process.
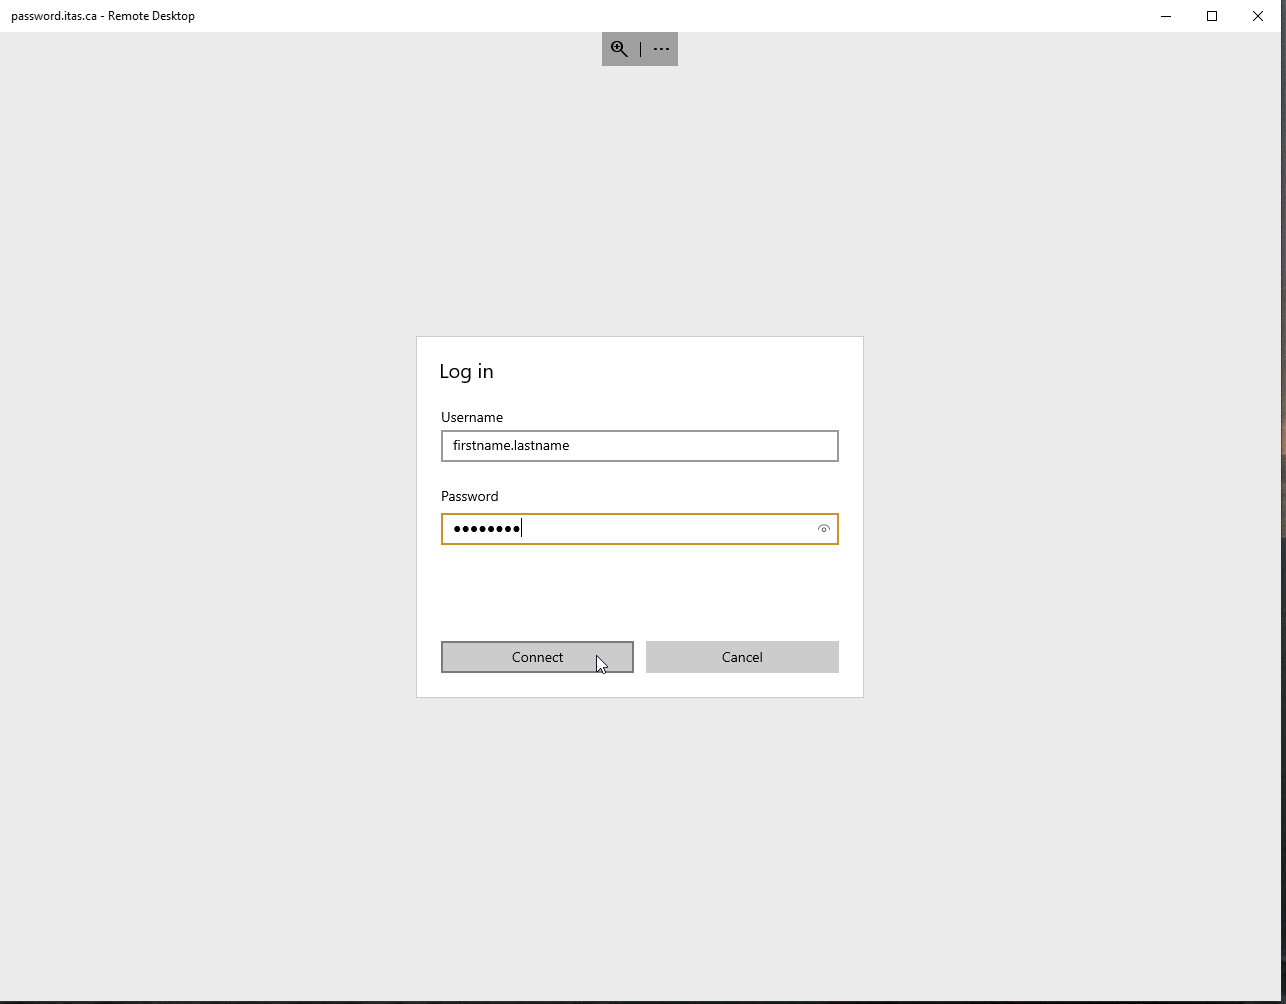
On the login screen, the Username field will already be filled with "firstname.lastname". Enter "[your password]" in the Password field and click on "Connect".
So far we have connected using the Microsoft Remote Desktop application. Windows 10 has a built-in client called "Remote Desktop Connection". Although this is built-in, I recommend the above application since you can save different connections in a simple process. That being said, if you choose to use the built-in Remote Desktop Connection, the following two screens show how to connect using it.
From the start menu, start typing "Remote Desktop". You will be presented with the program called Remote Desktop Connection, using the icon below. Click on it to start the program.
![]()
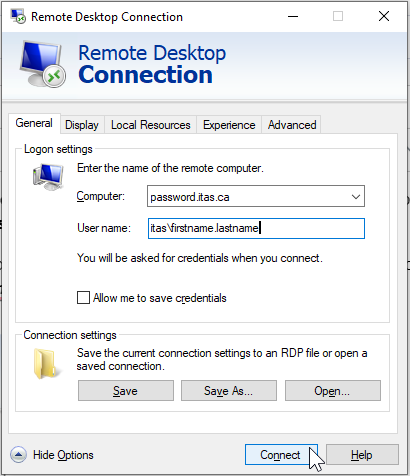
This will start the Remote Desktop Connection program. Click on "Show Options" in the lower-left corner. This will bring up an expanded view of the program, as shown below. In the Computer: field, enter "password.itas.ca" and in the User name: field, enter "itas\firstname.lastname". I found that I had to precede the username with the ITAS domain ("itas\") or my computer would try to use my local machine's account instead of "firstname.lastname". It could just be a personal issue!
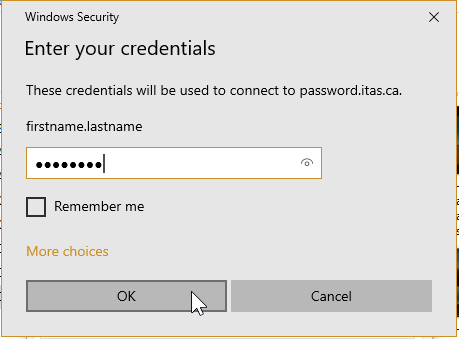
This will bring up the password prompt. Enter your "[current password]".
Note: Regardless of the method used for connection, it will, for the first time, prompt you to accept the certificate for the new connection. Select "Yes".
This will show that the connection has been authorized and is progressing. It will take a bit of time for the first connection, as it is building a local user account on "password.itas.ca".
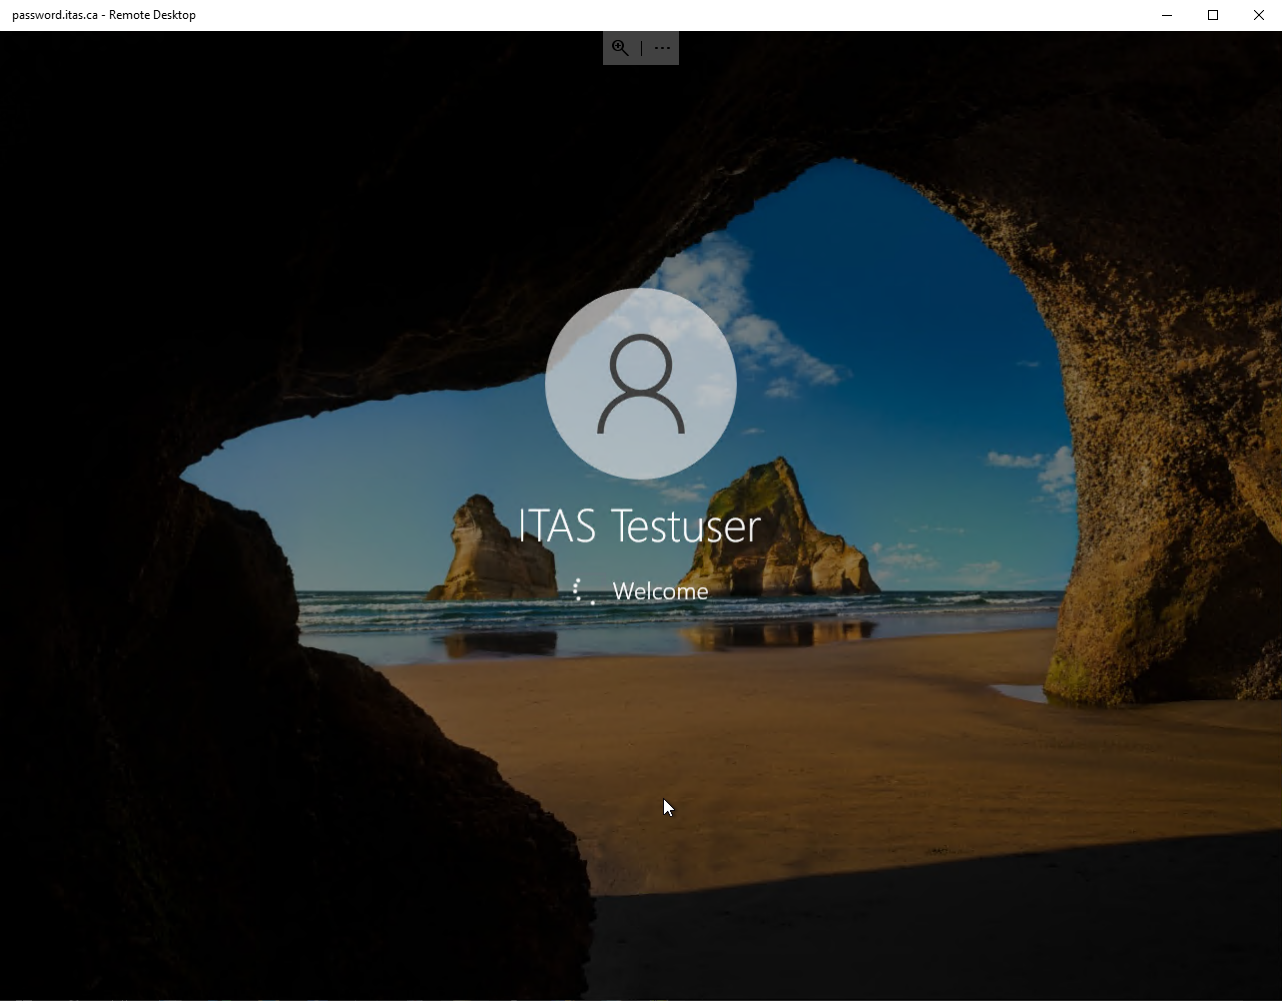
Once your account has been created locally on "password.itas.ca", you will be presented with a blank desktop (no screenshot).
In order to commence the process of changing your password, if you were sitting at a keyboard connected directly to "password.itas.ca", you would press "Ctrl-Alt-Del". DON'T DO IT! - the key combination triggers a process on your local machine, not on "password.itas.ca".
In order to send the "Ctrl-Alt-Del" keystrokes to "password.itas.ca" over Remote Desktop, you need to use the combination of "Ctrl-Alt-End". But wait!!! Apple has decided that the "End" key mustn't be aesthetically pleasing so have decided not to have an "End" key on their keyboards. In order to send the "Ctrl-Alt-Del" keystrokes to "password.itas.ca" over Remote Desktop from a Mac, it requires the "Ctrl-Alt-Fn-Backspace" key combination.
On Android and iOS, you use the on-screen keyboard to send the "Ctrl-Alt-Del".
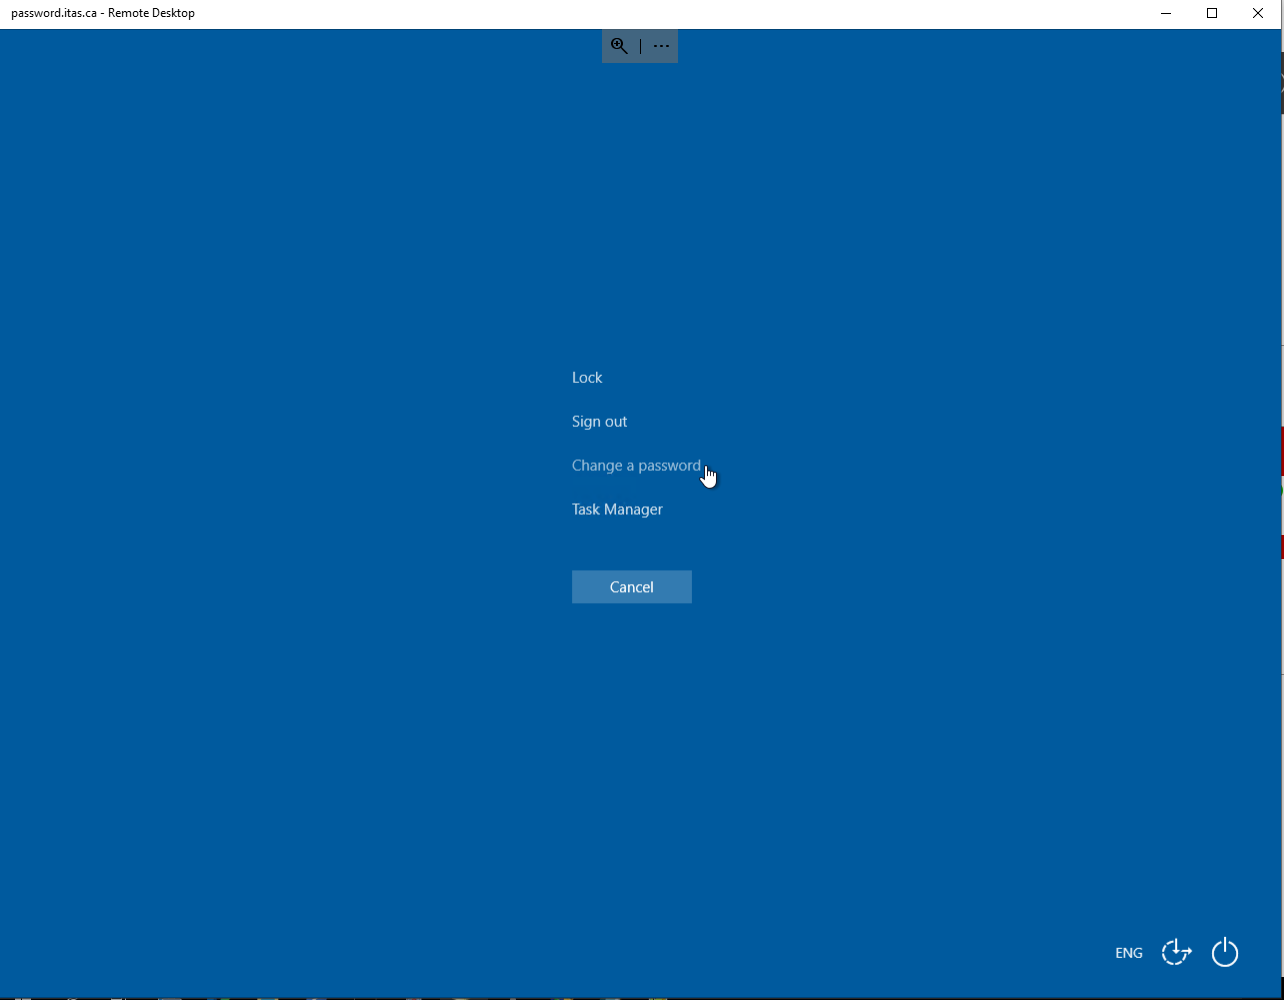
Regardless of which method was used, you should be presented with the following screen. Click on "Change a password".
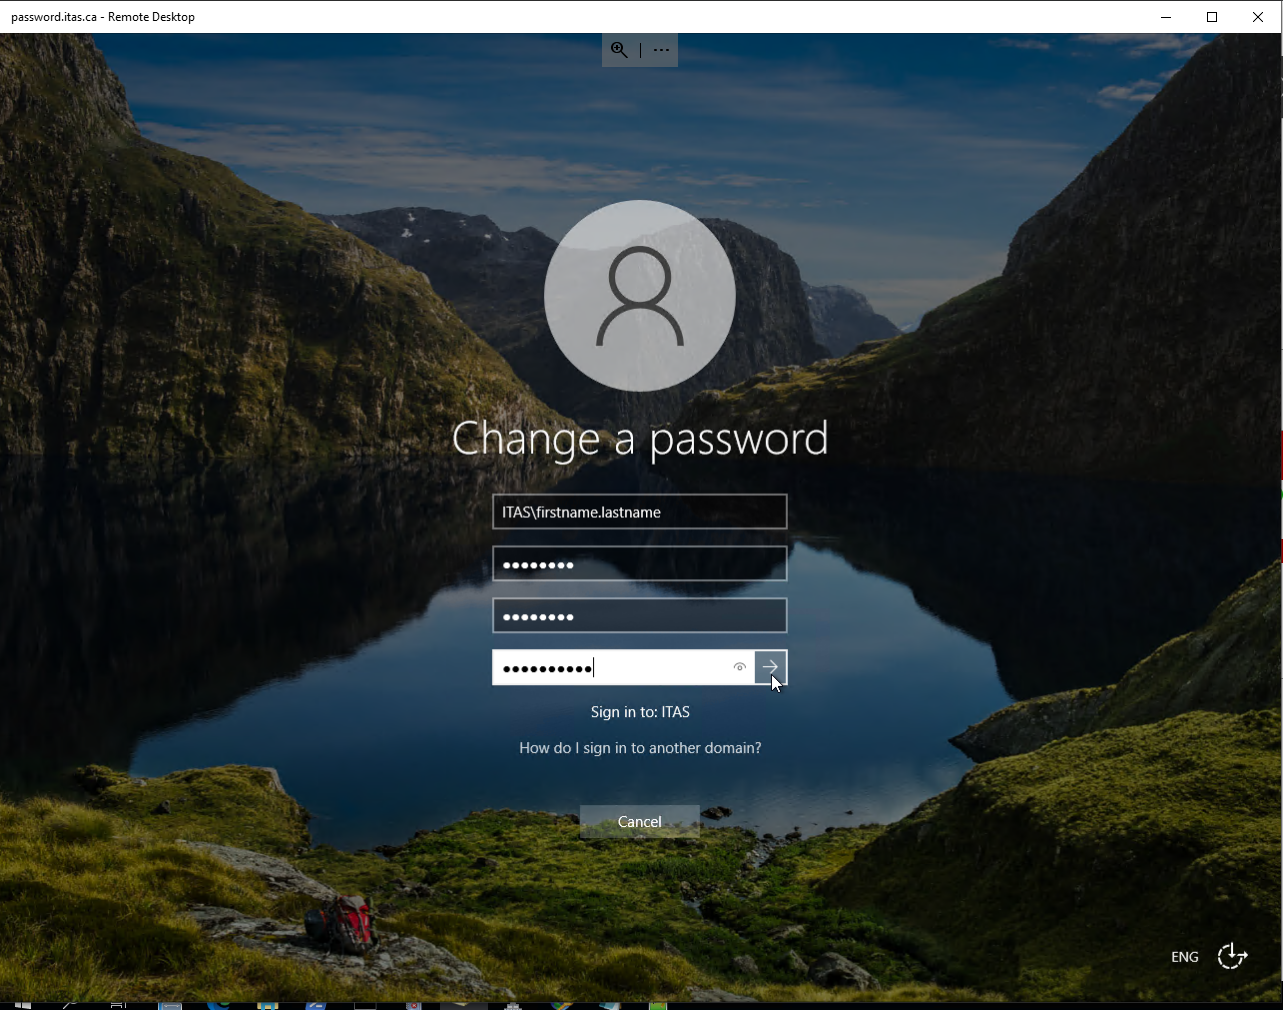
This will bring up the actual "Change a password" screen. Enter your "[current password]", followed by your "[desired password]" twice and either hit "Enter" or click on the "Submit" (Right-Arrow) to proceed.
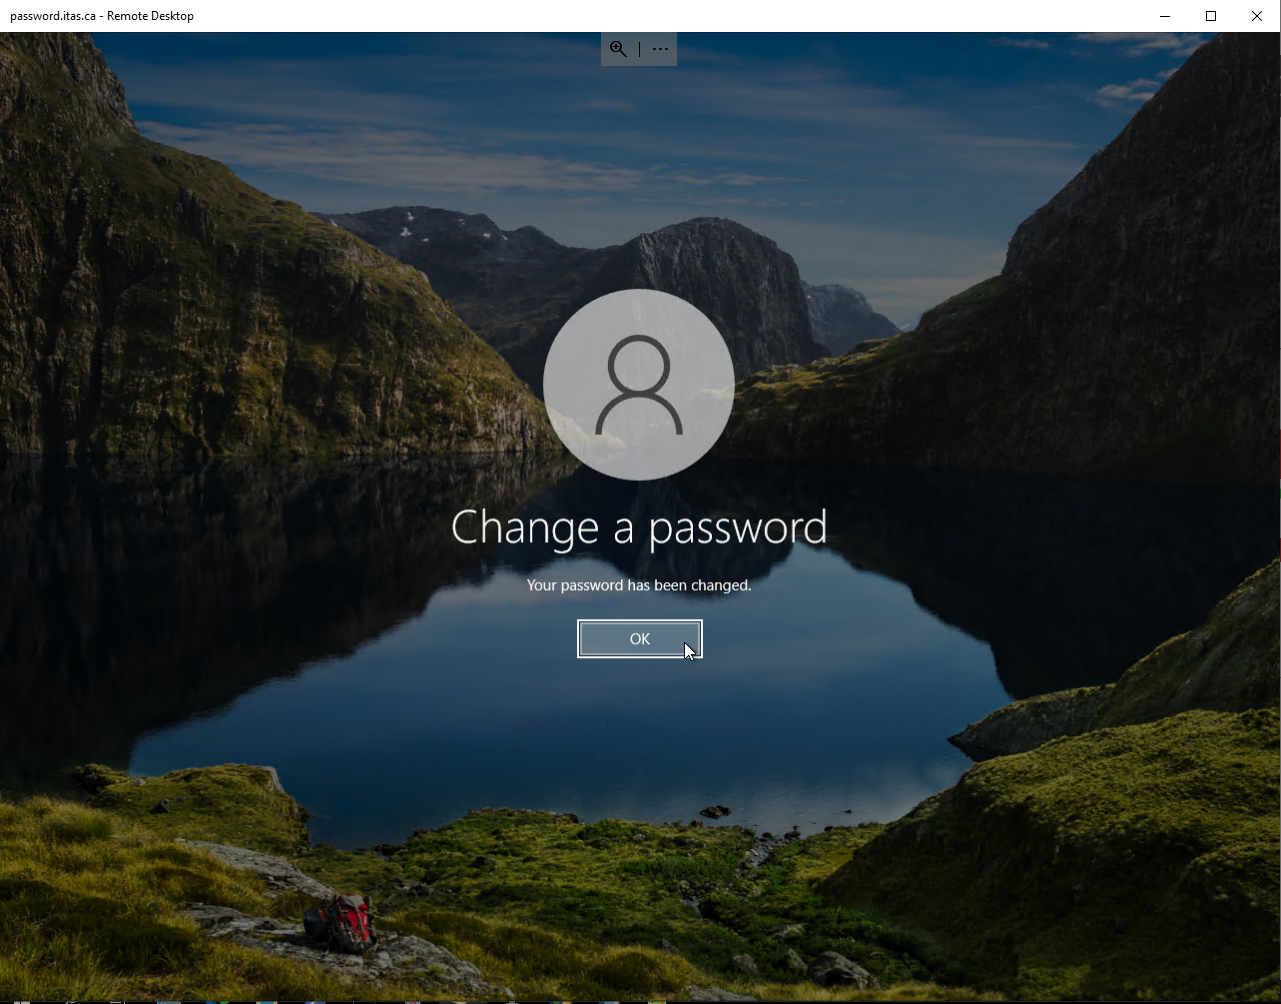
Once successful, you will be presented with the "Your password has been changed" screen.
Now, to properly log off of "password.itas.ca", click on the "Start" button, then your User icon, and finally "Sign out", as depicted in the image below.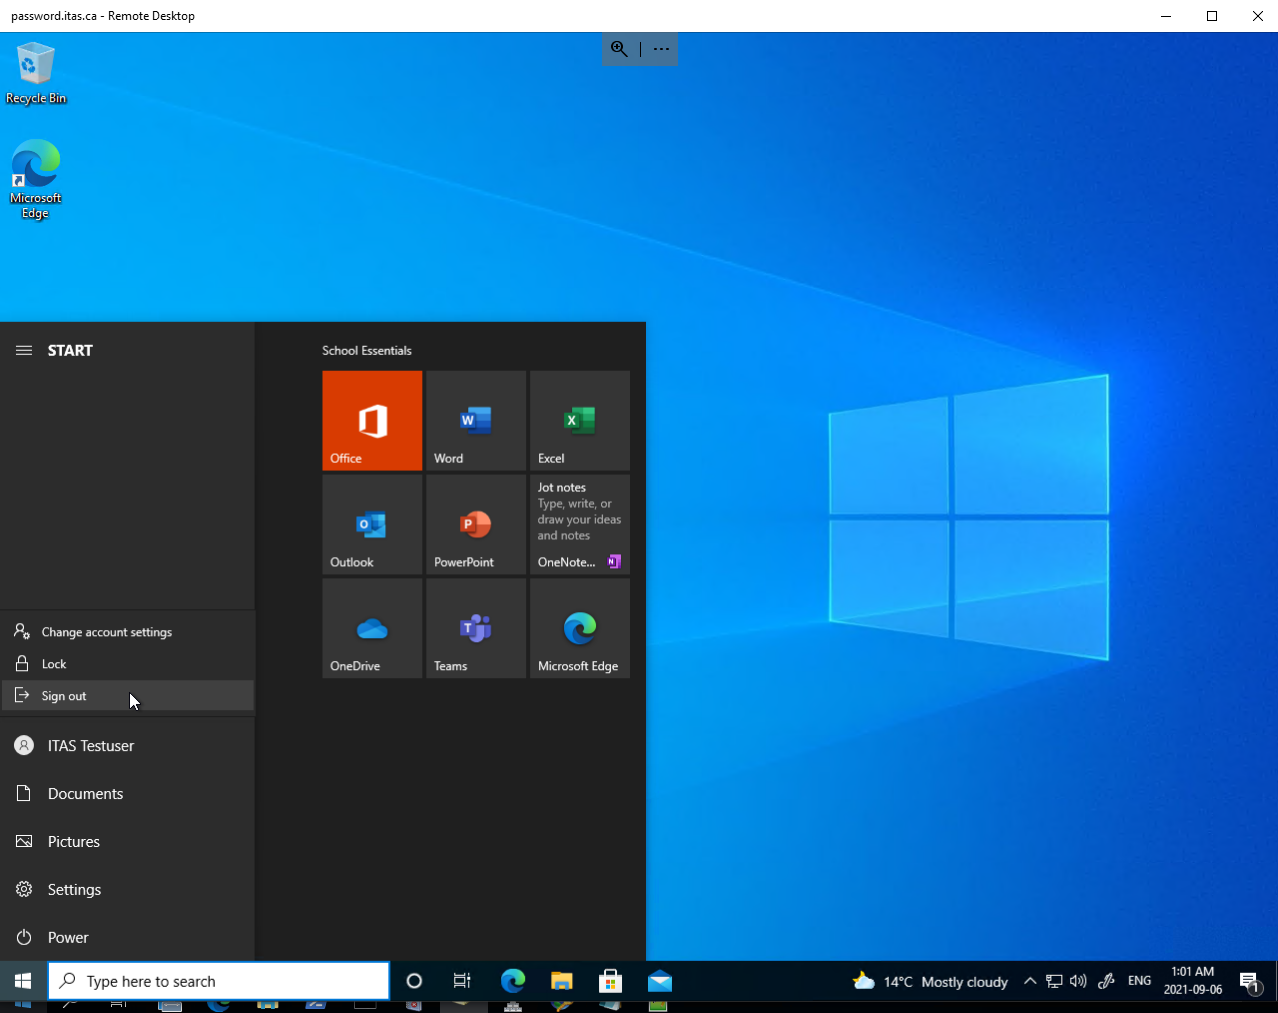
You have now successfully changed your ITAS internal password.